Rocket.Chat is one of the most popular open source chat applications. A great alternative to both Slack and paid live chat applications. It’s free, everything’s unlimited and it has a bunch of cool features like Video chat, Screen sharing, Mobile apps and more.
In this tutorial, we’ll focus on the live chat option that Rocket.Chat offers, not the Slack-alternative team chat option, although it’s really great and you should try it out.
In this tutorial, we’ll install Rocket.Chat on an Ubuntu 16.04 server with Nginx as a reverse proxy and add it to our WordPress site.
Requirements
Rocket.Chat doesn’t run on your usual LAMP/LEMP stack. It has some requirements like:
- Rocket.Chat is a self-hosted application, so you’ll need a VPS/Dedicated Server. Usually, shared hosting accounts don’t allow the stuff you need to run Rocket.Chat, so you’ll have to get a VPS for this. You can either get a cheap unmanaged one or a cheap managed one.
- (Optionally) A WordPress site. Of course, you can still use Rocket.Chat without WordPress, but for the purposes of this tutorial, we’ll assume that you already have a WordPress site.
- The server needs to have at least 1GB RAM (although 2 or more is recommended). You can get a 1GB RAM VPS from Linode or Vultr for $5/month.
- Root access to your VPS (sudo/root user)
Now that we got the requirements out of the way, let’s go to the installation.
Rocket.Chat Installation Instructions
First, log in to your VPS as root and as always, we’ll start with updating our system:
apt-get update && apt-get upgrade -y
Next, we’ll install all the required packages for Rocket.Chat, including Nginx and Node.js:
apt-get install curl graphicsmagick build-essential nodejs npm nginx -y
Now we’ll move on to the database.
Install MongoDB
Rocket.Chat uses MongoDB as a database server.
Before we can actually install MongoDB, we need to add the MongoDB keyserver:
apt-key adv --keyserver hkp://keyserver.ubuntu.com:80 --recv EA312927
Now, create a list file for MongoDB:
echo "deb [ arch=amd64,arm64 ] http://repo.mongodb.org/apt/ubuntu xenial/mongodb-org/3.4 multiverse" | tee /etc/apt/sources.list.d/mongodb-org-3.4.list
Next, update the Ubuntu repository:
apt-get update
And install MongoDB with:
apt-get install mongodb-org -y
Next, enable mongodb to start on boot:
systemctl enable mongod
And start it:
systemctl start mongod
That’s it. We installed MongoDB.
Configure a MongoDB ReplicaSet
By using a ReplicaSet, you’ll greatly improve the performance of your Rocket.Chat.
Edit the ‘/etc/mongod.conf’ file with an editor of your choice. We’ll use nano:
nano /etc/mongod.conf
Comment out the 24th line (with #) to enable MongoDB to run on another IP other than localhost:
net:
    port: 27017
    #bindIp: 127.0.0.1
And add the ReplicaSet below (at line 34):
#replication:
replication:
   oplogSizeMB: 1
   replSetName: rs0
Save the file and exit.
Now, restart MongoDB so the changes can take effect:
systemctl restart mongod
Next, start the MongoDB shell and initiate the ReplicaSet from before:
export LC_ALL=C
mongo
rs.initiate()
After you run rs.initiate(), you should get the following results:
{
        "info2" : "no configuration specified. Using a default configuration for the set",
        "me" : "thishosting-rocks:27017",
        "ok" : 1
}
If the value of “ok” is not 1, then something’s wrong. Please go back and follow the steps exactly as shown in this tutorial.
Now let’s move on to Node.js.
Configure npm and Node.js
We previously installed npm and Node.js, but now we need to do the necessary configurations.
First, install the ‘n’ package globally on the whole system:
npm install -g n
Rocket.Chat needs Node.js version 4.5, so let’s install it with ‘n’:
n 4.5
Check if you have the right node.js version:
node --version
It should be ‘v4.5.0’
And check the npm version:
npm -v
It should be ‘3.5.2’
That’s it. Let’s move on to the actual installation of Rocket.Chat
Install the Rocket.Chat server
First, download the latest version of Rocket.Chat:
curl -L https://rocket.chat/releases/latest/download -o rocket.chat.tgz
And extract it:
tar -xzvf rocket.chat.tgz
We’ll install Rocket.Chat in the ‘/var/www/’ directory, so create it:
mkdir -p /var/www/
And move Rocket.Chat to that directory:
mv bundle Rocket.Chat
mv Rocket.Chat /var/www/
Now, navigate to the Rocket.Chat directory:
cd /var/www/Rocket.Chat/programs/server/
And run the following commands to add some environment variables:
npm install
cd ../../
export ROOT_URL=http://111.111.1.111:1337/
export MONGO_URL=mongodb://localhost:27017/rocketchat?replicaSet=rs0
export PORT=1337
node main.js
Make sure to change the variables to your server’s IP address and a port of your choice. After you run all the commands, you should get something like this:
➔ System ➔ startup
➔ +--------------------------------------------------+
➔ |                  SERVER RUNNING                  |
➔ +--------------------------------------------------+
➔ |                                                  |
➔ |  Rocket.Chat Version: 0.53.0                     |
➔ |       NodeJS Version: 4.5.0 - x64                |
➔ |             Platform: linux                      |
➔ |         Process Port: 1337                       |
➔ |             Site URL: http://111.111.1.111:1337/ |
➔ |     ReplicaSet OpLog: Disabled                   |
➔ |          Commit Hash: 0ebae3ac36                 |
➔ |        Commit Branch: HEAD                       |
➔ |                                                  |
➔ +--------------------------------------------------+
You are done. Now let’s configure Nginx as a reverse proxy.
Configure Nginx as a reverse proxy for Rocket.Chat
We’ll run Rocket.Chat on Nginx with an SSL. We already installed Nginx in our first step of this tutorial.
First, create a directory for your SSL:
mkdir -p /etc/nginx/ssl/
And navigate to it:
cd /etc/nginx/ssl/
Generate an SSL certificate file:
openssl req -new -x509 -days 365 -nodes -out /etc/nginx/ssl/rocket-chat.crt -keyout /etc/nginx/ssl/rocket-chat.key
And update its permissions:
chmod 400 rocket-chat.key
Now, create a virtual host file for your Rocket.Chat. Navigate to:
cd /etc/nginx/sites-available/
And create a new configuration file:
nano rocket-chat
And add the actual Nginx configuration below. Make sure to replace the IP, port and domain name to the stuff you use. You can get a .chat domain from Namecheap.
# Upstreams
upstream backend {
    server 127.0.0.1:1337;
}

# Redirect Options
server {
  listen 80;
  server_name example.chat;
  # enforce https
  return 301 https://$server_name$request_uri;
}

# HTTPS Server
server {
    listen 443;
    server_name example.chat;

    error_log /var/log/nginx/rocketchat.access.log;

    ssl on;
    ssl_certificate /etc/nginx/ssl/rocket-chat.crt;
    ssl_certificate_key /etc/nginx/ssl/rocket-chat.key;
    ssl_protocols TLSv1 TLSv1.1 TLSv1.2; # dont use SSLv3 ref: POODLE

    location / {
        proxy_pass http://111.111.1.111:1337/;
        proxy_http_version 1.1;
        proxy_set_header Upgrade $http_upgrade;
        proxy_set_header Connection "upgrade";
        proxy_set_header Host $http_host;

        proxy_set_header X-Real-IP $remote_addr;
        proxy_set_header X-Forward-For $proxy_add_x_forwarded_for;
        proxy_set_header X-Forward-Proto http;
        proxy_set_header X-Nginx-Proxy true;

        proxy_redirect off;
    }
}
Save and close the file. Next, activate it:
ln -s /etc/nginx/sites-available/rocket-chat /etc/nginx/sites-enabled/rocket-chat
Run:
nginx -t
and make sure there are no errors. If everything’s ok, restart Nginx:
systemctl restart nginx
Almost done. Now let’s reconfigure Rocket.Chat to run with our new domain.
Reconfiguring Rocket.Chat with our new domain
We’ll need to update the variables we added before with our new data.
Run the following commands:
cd /var/www/Rocket.Chat/
export ROOT_URL=https://example.chat
export MONGO_URL=mongodb://localhost:27017/rocketchat?replicaSet=rs0
export PORT=1337
node main.js
Make sure to replace the domain with your actual domain name and the port to the port you used previously. After you run all the commands, you should get an output similar to this:
➔ System ➔ startup
➔ +-----------------------------------------------+
➔ |                 SERVER RUNNING                |
➔ +-----------------------------------------------+
➔ |                                               |
➔ |  Rocket.Chat Version: 0.53.0                  |
➔ |       NodeJS Version: 4.5.0 - x64             |
➔ |             Platform: linux                   |
➔ |         Process Port: 1337                    |
➔ |             Site URL: https://example.chat    |
➔ |     ReplicaSet OpLog: Disabled                |
➔ |          Commit Hash: 0ebae3ac36              |
➔ |        Commit Branch: HEAD                    |
➔ |                                               |
➔ +-----------------------------------------------+
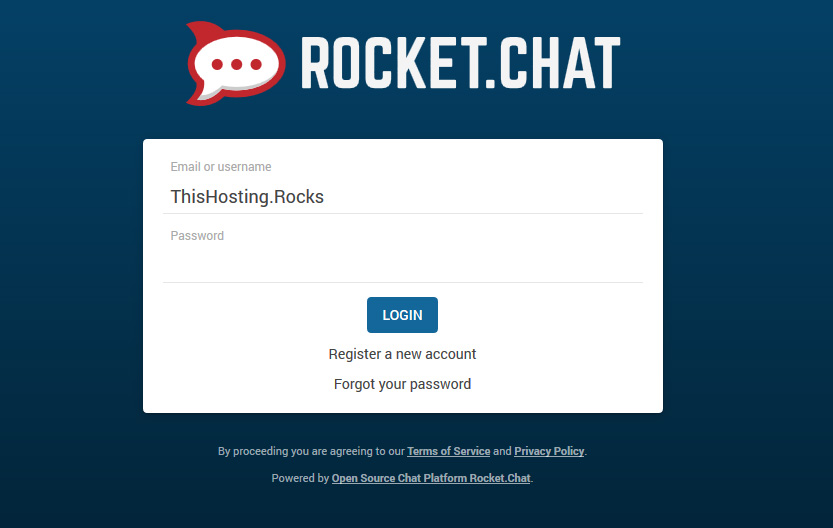
Now, open your domain name in your browser and register a new account.

Rocket.Chat will ask you if you want to update your site’s URL, click “Yes”.
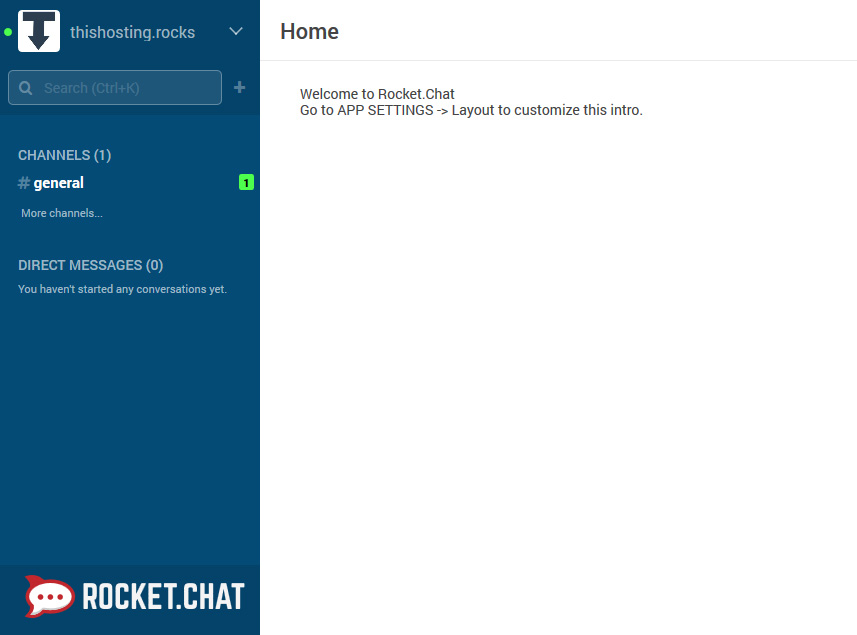
After you create an account and log in, you should get something like this:

And you are done with installing Rocket.Chat.
If you want to configure Rocket.Chat to run forever, without needing to initiate an SSH session each time you want to run it, you’ll need to use the node module ‘forever-service’. Contact our support team if you want us to do this for you.
Now let’s move on to integrating it with WordPress.
Integrate Rocket.Chat with WordPress
First, you need to enable the Live chat option in your Rocket.Chat.
Enable live chat in Rocket.Chat
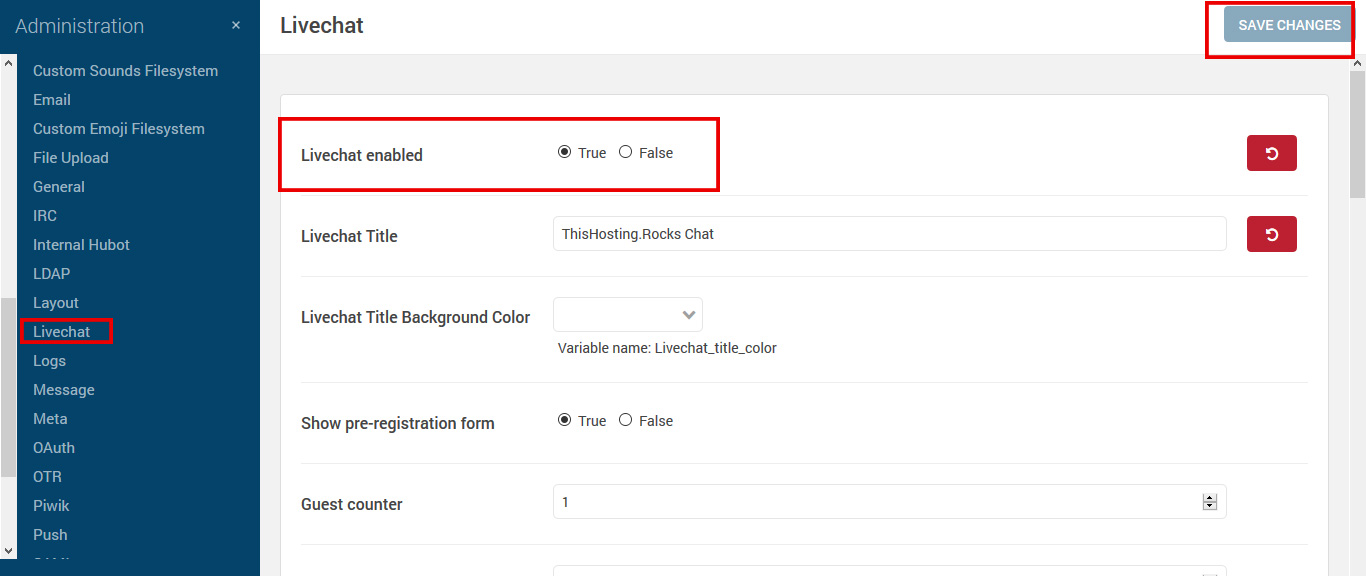
Log in to your Rocket.Chat, go to Administration, then navigate to ‘Livechat’ from the sidebar menu. Alternatively, you can also use https://example.chat/admin/Livechat
Enable the live chat option from here and update all the settings according to your needs.

There are quite a lot of options, so go through them and see what you want to change. Click on ‘SAVE CHANGES’ after you are done.
Now, let’s configure WordPress to show our Rocket.Chat live chat widget.
Install the WordPress plugin
There’s an official Rocket.Chat plugin for WordPress. Download and install the plugin.
Then, navigate to Settings -> Rocket.Chat LiveChat and enter the URL of your Rocket.Chat (https://example.chat). Click save.
And you are done. Now you have Rocket.Chat enabled on your WordPress site.
That’s all! If you need any help, feel free to leave a comment below or contact our support team and they will do all this for you.


2 thoughts on “How to Install Rocket.Chat on Ubuntu and Use it on Your WordPress”
Greetings,
I am from the Rocket.Chat team. First off wanted to say thanks for writing an tutorial. Great writing.
I would recommend one change to your tutorial though. You currently suggest that people comment out the bindIp line in their mongo config.
Doing this actually exposes mongo on every ip address on the machine. This includes the public IP of the machine. If you don’t have a firewall in place, this means your database is exposed to any and everyone on the internet.
We strongly recommend against this. Currently a trend going on where people are scanning the internet for exposed mongo servers and actually attempting to hold users data for ransom.
Instead we recommend adding any additional ips you need to bind to to the bindIp something like this for example: bindIp: 127.0.0.1,10.7.16.3
Also to note.. localhost resolves to 127.0.0.1 so leaving on 127.0.0.1 should also be fine.
Please reach out to me if you have questions.
quick question could not find the live chat option? did i miss something?