In this tutorial, we’re going to show you how to install and use Adminer on Ubuntu.
Adminer is an alternative to phpMyAdmin that works from a single PHP file and it’s easy to install. It supports databases like MySQL, MariaDB, PostgreSQL, SQLite, MS SQL, Oracle, Elasticsearch, MongoDB, SimpleDB (plugin), Firebird (plugin), ClickHouse, and more.
Requirements
- Sudo/root user
- An Ubuntu server. You can get one from Vultr or Linode if you know how to manage the server yourself. If you get a server from SolaDrive they will install Admnier for you.
Adminer is best used if you already have an app that uses a database on your system (a database you need to manage). In this tutorial, we’ll include the basic steps of installing the LAMP stack needed for Adminer, but in most use cases you already have a LAMP stack (like WordPress) so you can skip to Step 5 if you do have it installed.
Step 1: Update your system
The first step before doing anything is to update your system:
sudo apt-get update
sudo apt-get upgrade
Step 2: Install Apache
The first step to installing the LAMP stack needed for this tutorial.
sudo apt-get install apache2
Then, start and enable the apache2 service:
sudo systemctl start apache2
sudo systemctl enable apache2
Step 3: Install a database (MySQL)
The third step of the LAMP stack, installing a database. In this tutorial, we’ll be using MySQL, but you can use any other database engine mentioned in the intro of this article. They all work with Adminer. You can read our tutorial on how to install and optimize MariaDB/MySQL here.
To install MySQL, run:
sudo apt-get install mysql-server
After the installation, run this script to secure it:
mysql_secure_installation
And finally, start and enable MySQL:
sudo systemctl start mysql
sudo systemctl enable mysql
Step 4: Install PHP
The final step of the LAMP stack, installing PHP.
You can read our tutorial to find out how to install PHP 8 and how to optimize it.
To install the default PHP version in the Ubuntu repositories, along with a few modules, run:
sudo apt-get install php php-curl php-cli php-gd libapache2-mod-php php-mysql
Step 5: Install Adminer
You can download and install Adminer manually, or through Ubuntu’s repositories. We’ll do it via the repositories.
Run the following command:
sudo apt-get install adminer
And activate the conf file for Apache:
sudo a2enconf adminer.conf
Finally, restart Apache:
sudo systemctl restart apache2
And now you can start using Adminer. You can access it via example.com/adminer/ or your.ip.address/adminer/

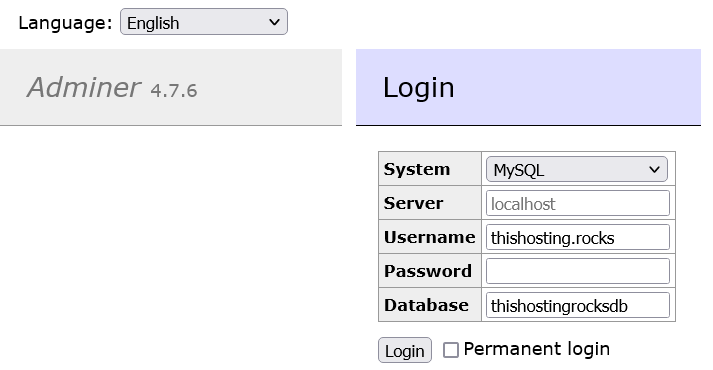
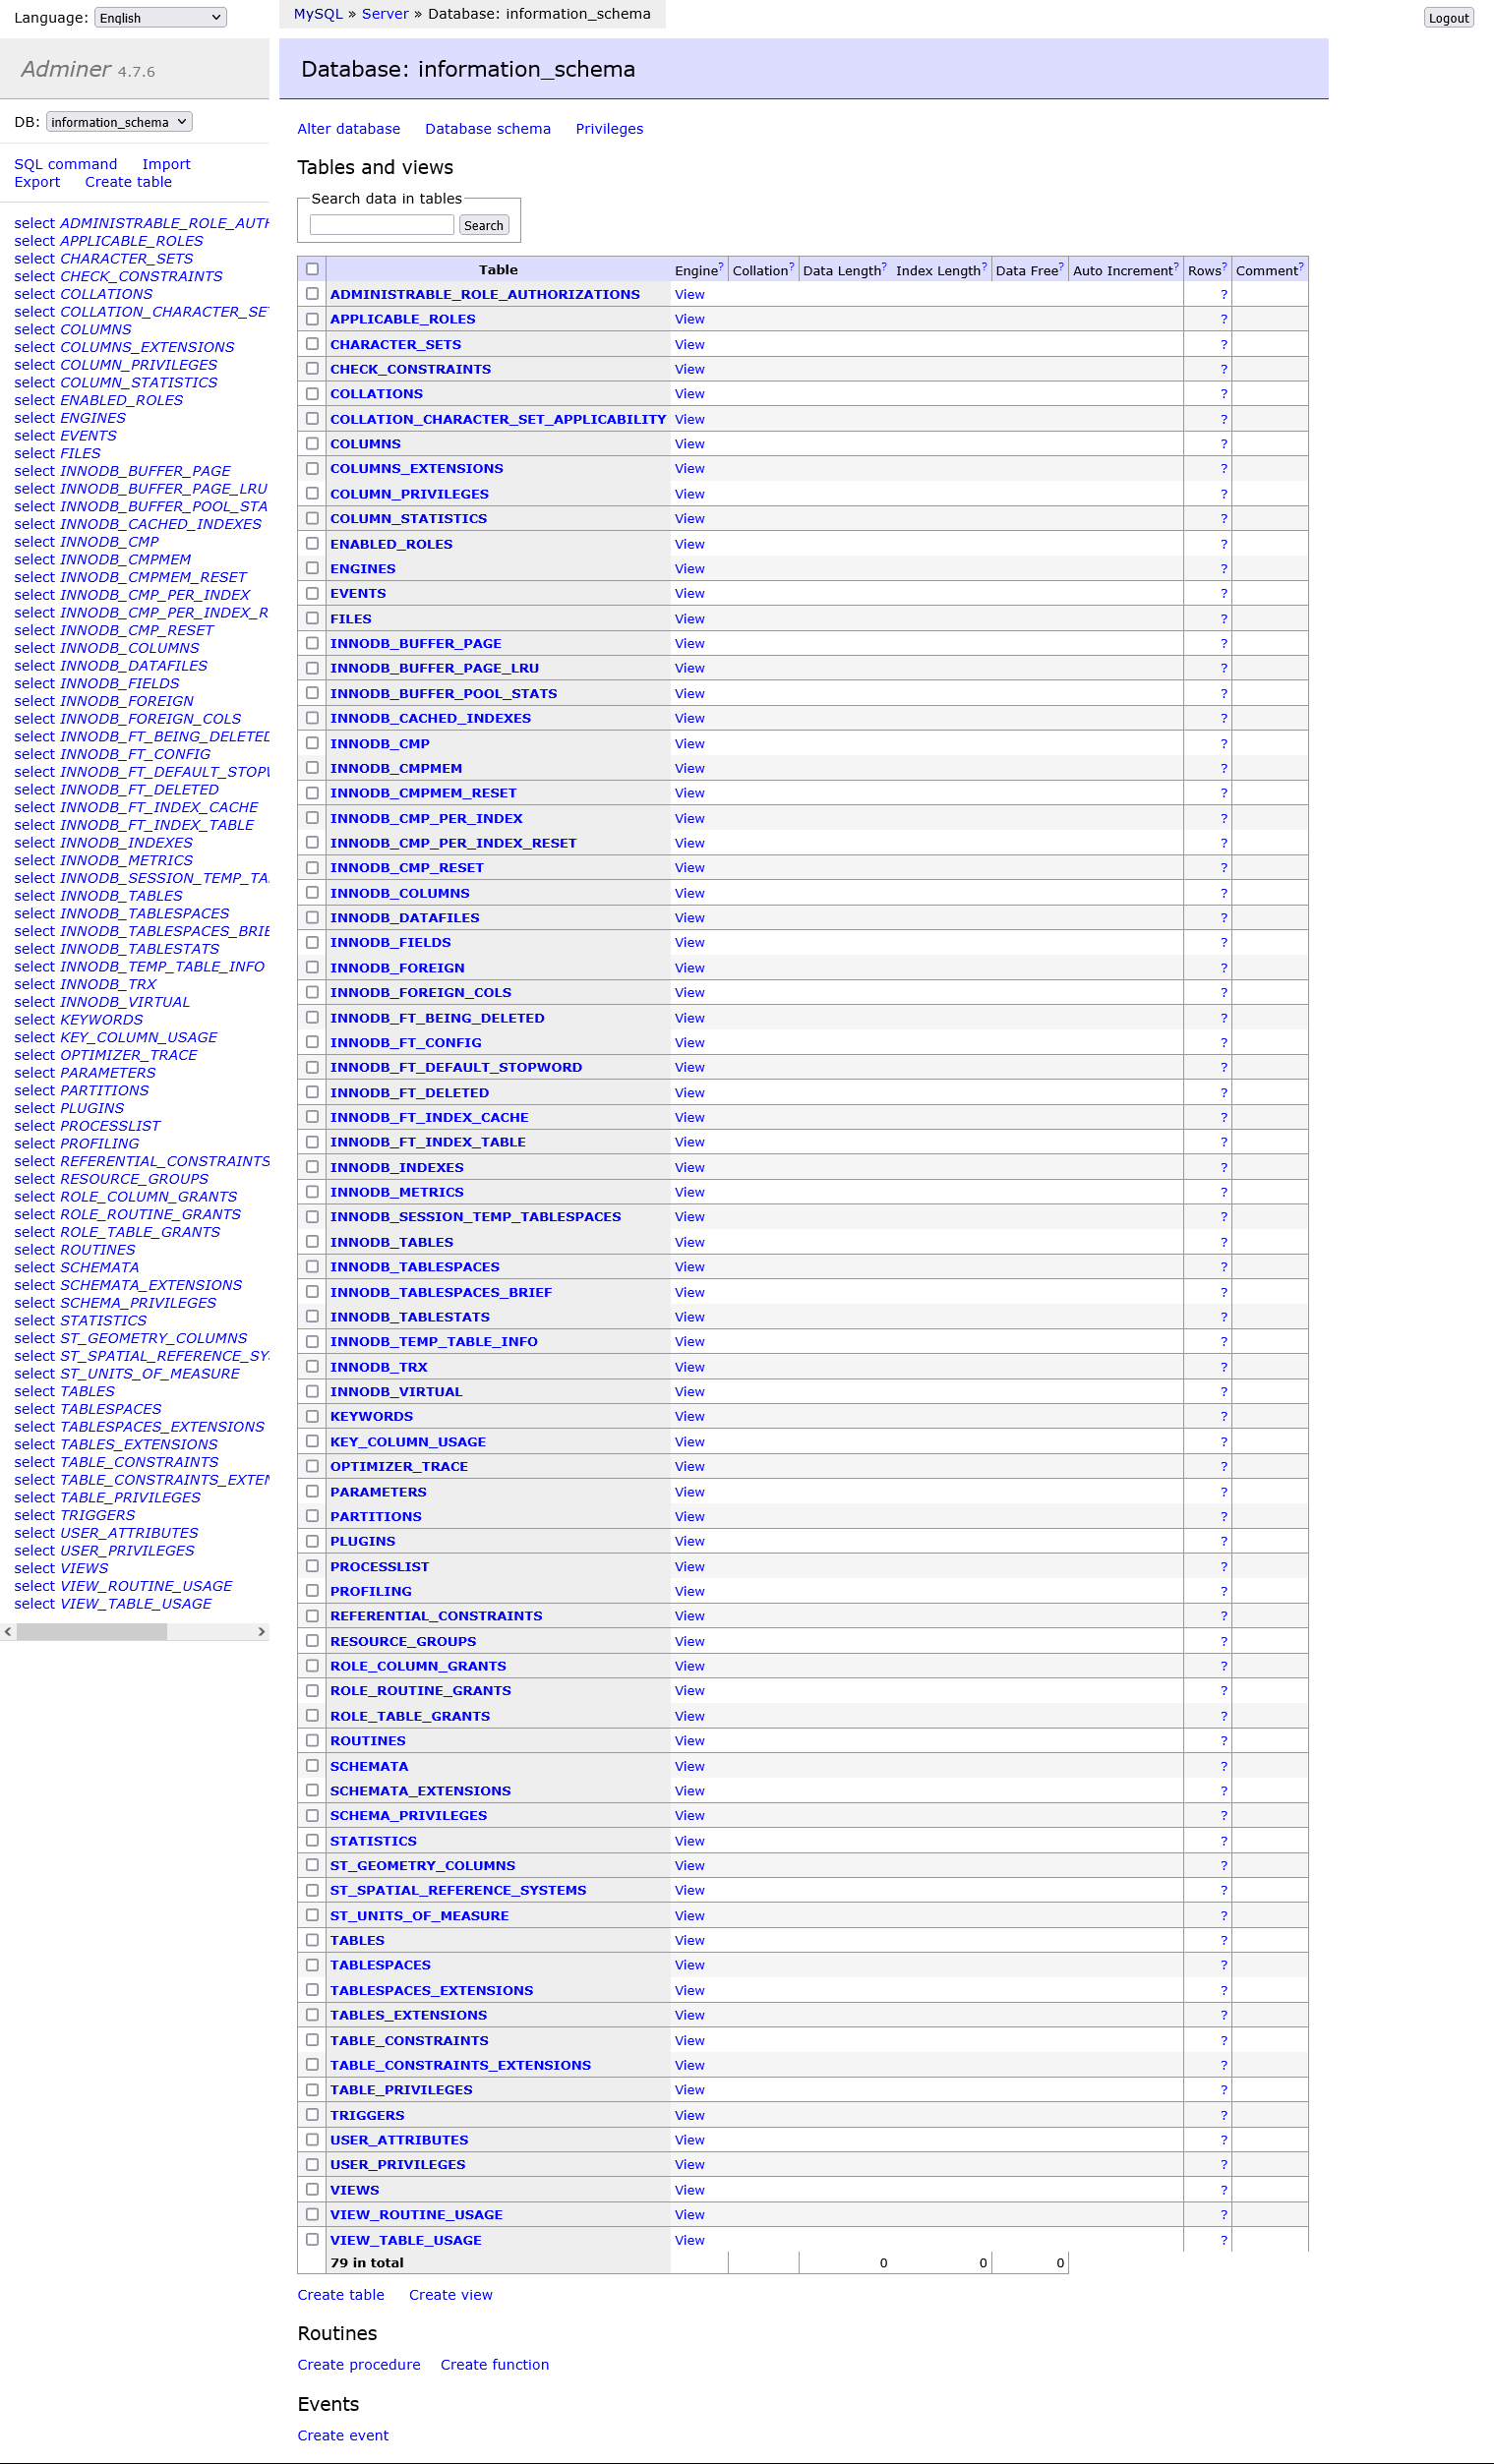
Use the details of your database to log in and that’s it. Adminer has a simple and fast UI that’s easy to use.

(Optional) Step 6: Install a skin
The basic UI is pretty simple-looking. If you like it, you don’t have to change it. But if you do want to change it, it’s as simple as downloading a .css file.
There are multiple skins/designs/layouts you can choose from on their website.
For this example, we’ll be using “rmsoft blue”.
To use the skin, just download the CSS file to where your Adminer file is located. If you followed our tutorial, your Adminer file should be located at /etc/adminer.
So, navigate to that directory:
cd /etc/adminer
And download the .css file:
wget 'https://raw.githubusercontent.com/vrana/adminer/master/designs/rmsoft_blue/adminer.css'
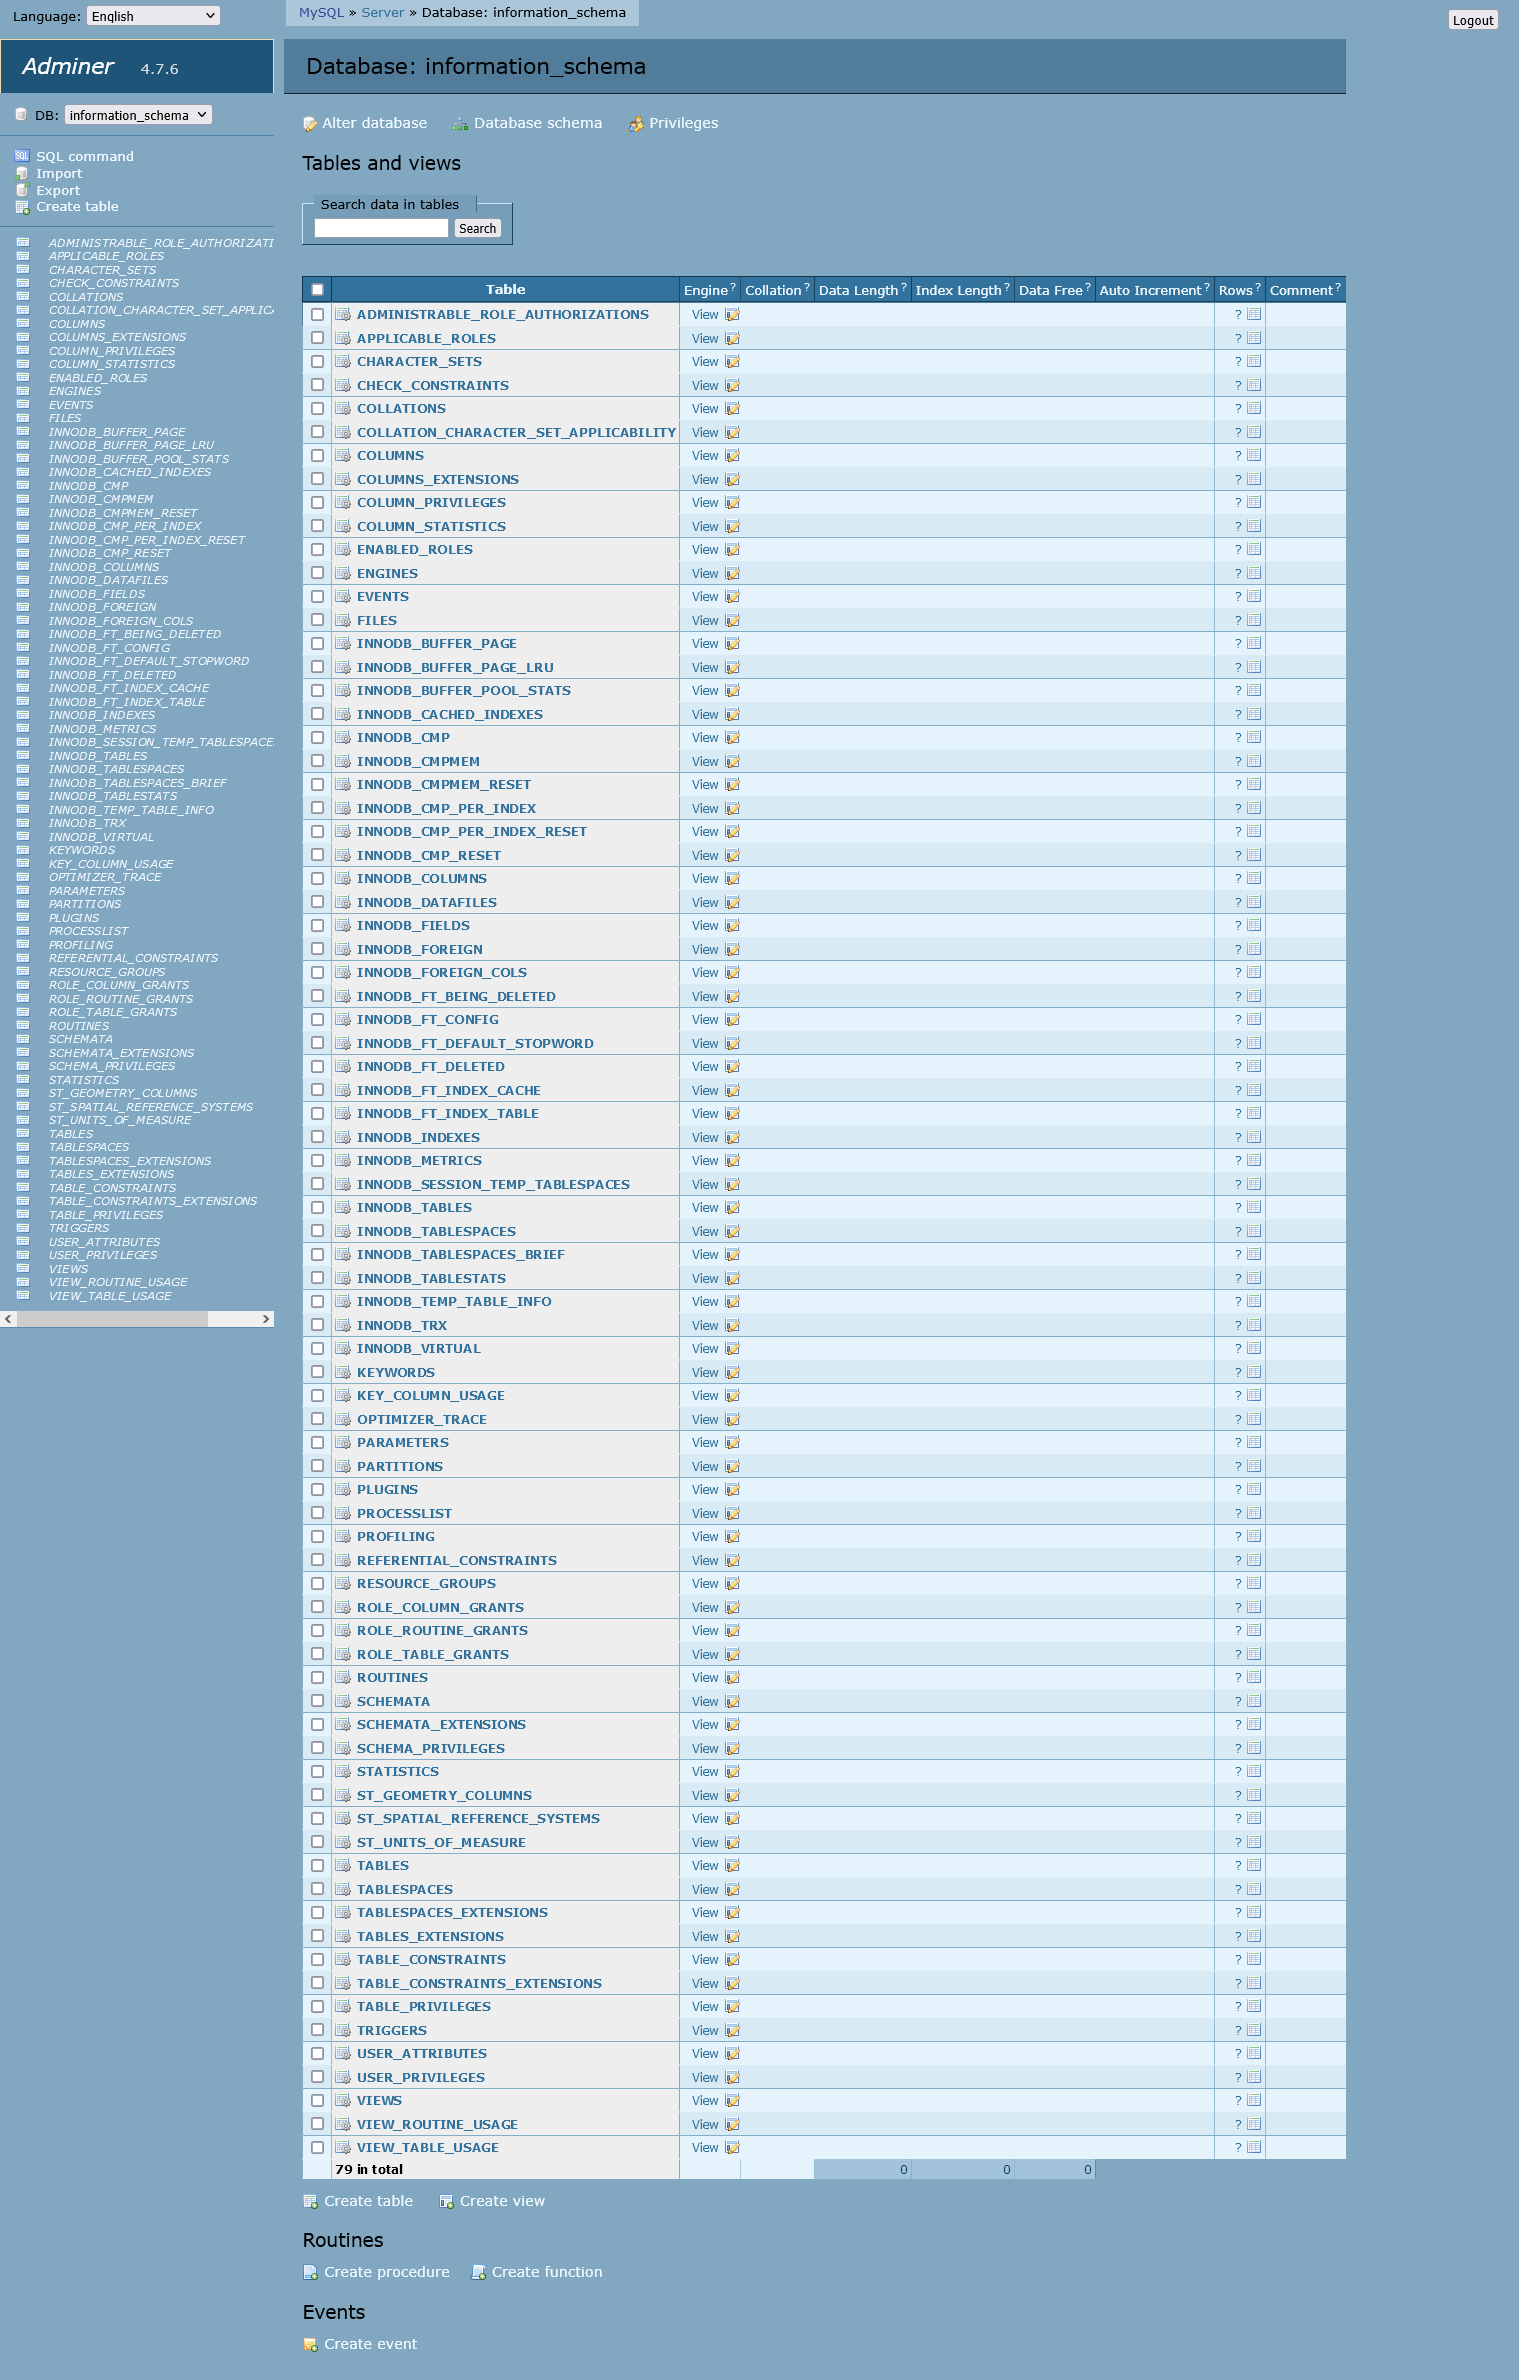
And that’s it, your Adminer should be ready to use with a new skin:


