
In this tutorial, we’re going to show you how to install MantisBT (FOOS bug tracker) on an Ubuntu server.
Requirements
This is what you need:
- An Ubuntu server. You can get one from Vultr or Linode if you know how to manage the server yourself. If you get a server from SolaDrive they will install MantisBT and manage the server for you.
- Root/sudo access to the server
This tutorial was written and tested for Ubuntu 20.04, but it will work fine on any other Ubuntu version.
Step 1: Update the system and install needed packages
As always, the first step is to update the system:
sudo apt-get update
sudo apt-get upgrade
Then install a few packages that we’ll need for later use:
sudo apt-get install software-properties-common wget unzip nano
Step 2: Install Apache
The next step is to start installing the LAMP stack, so we’ll start with Apache.
sudo apt-get install apache2
You can also read our detailed tutorial on how to install and optimize Apache. We’ve included instructions on how to install some modules and how to optimize and speed up Apache.
Check if you’ve installed Apache and what version you’re using with:
apachectl -V
Then, update your firewall (if you use it):
ufw allow 'Apache Full'
And start and enable Apache on boot:
sudo systemctl start apache2
sudo systemctl enable apache2
Step 3: Install MariaDB
The next step is to install MariaDB (or you can use MySQL). We’ve included instructions on how to set up and optimize both in our tutorial.
First, add the MariaDB repository:
sudo apt-key adv --fetch-keys 'https://mariadb.org/mariadb_release_signing_key.asc'
sudo add-apt-repository 'deb [arch=amd64,arm64,ppc64el] http://ams2.mirrors.digitalocean.com/mariadb/repo/10.6/ubuntu focal main'
Then, update again:
sudo apt-get update
And finally, install MariaDB:
sudo apt-get install mariadb-server
You can also run
mysql_secure_installation
After installing MariaDB to secure it.
Start and enable MariaDB on boot:
sudo systemctl start mariadb
sudo systemctl enable mariadb
Step 4: Install PHP
The final step of the LEMP installation, installing PHP.
Run the following command to install PHP and modules you may need:
sudo apt-get install php php-pear php-fpm php-dev php-zip php-curl php-xmlrpc php-gd php-mysql php-mbstring php-xml libapache2-mod-php
If you’d like to use a newer version of PHP, as well as get instructions on how to optimize PHP, read our tutorial.
Step 5: Create a database for MantisBT
The next step is to create and configure a database for MantisBT.
Log into MariaDB:
sudo mysql -u root -p
And run the following commands:
CREATE DATABASE mantisbt;
CREATE USER 'mantis'@'localhost' IDENTIFIED BY 'MantisBTPassword';
GRANT ALL PRIVILEGES ON mantisbt.* TO 'mantis'@'localhost' IDENTIFIED BY 'MantisBTPassword' WITH GRANT OPTION;
FLUSH PRIVILEGES;
exit;
Of course, change the password.
Step 6: Download and install MantisBT
First, download MantisBT:
wget 'https://downloads.sourceforge.net/project/mantisbt/mantis-stable/2.25.2/mantisbt-2.25.2.zip'
You can get the download link for the latest version on their website. As of writing, the latest stable version is 2.25.2
Next, extract the downloaded file:
unzip mantisbt-2.25.2.zip
And move the files to the Apache root directory:
sudo mv -v mantisbt-2.25.2/* /var/www/html
Then, update the permissions:
sudo chown -R www-data:www-data /var/www/html/
Next, create a conf file for MantisBT:
sudo nano /etc/apache2/sites-available/mantisbt.conf
Change the following with your domains and email:
<VirtualHost *:80>
    ServerAdmin contact@mantisbthishosting.rocks
    DocumentRoot "/var/www/html"
    ServerName mantisbthishosting.rocks
    ServerAlias www.mantisbthishosting.rocks
    ErrorLog "/var/log/apache2/mantis-error_log"
    CustomLog "/var/log/apache2/mantis-access_log" combined
        <Directory "/var/www/html/">
            DirectoryIndex index.php index.html
            Options FollowSymLinks
            AllowOverride All
            Require all granted
        </Directory>
</VirtualHost>
Save the file and enable the virtual host:
sudo a2ensite mantisbt.conf
Restart Apache:
sudo systemctl restart apache2
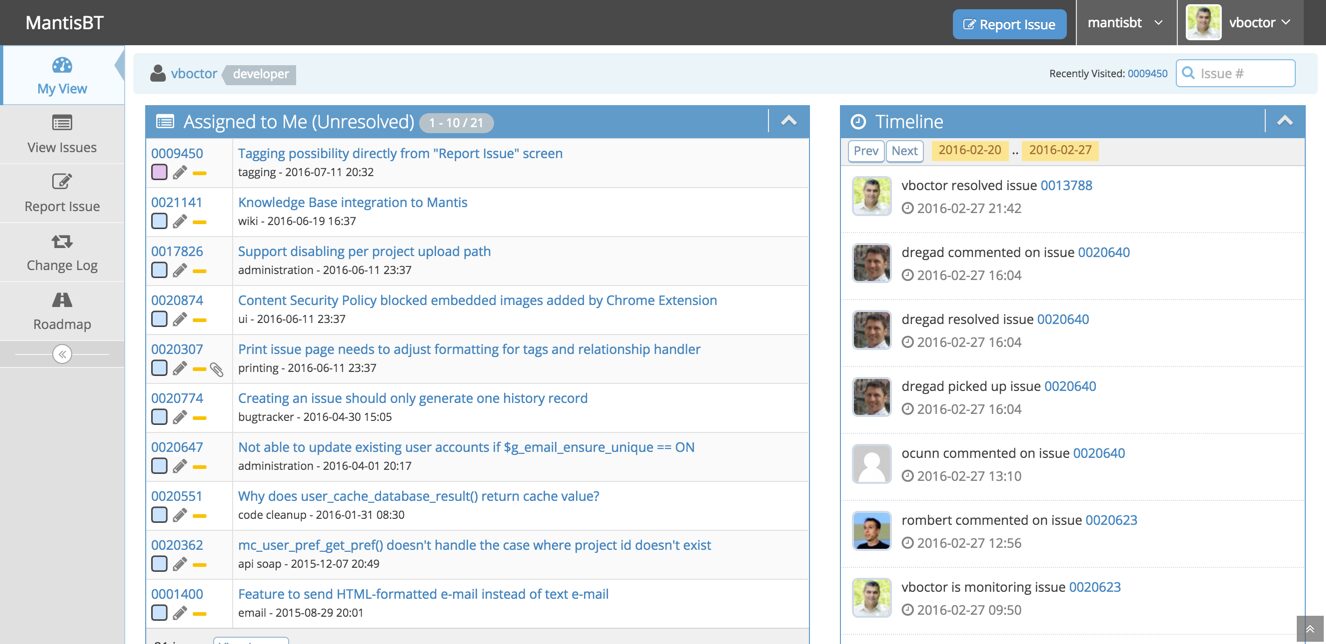
And that’s it! You’ve installed MantisBT. Now you can move onto the final steps:
Step 7: Final installation steps
Go to mantisbthishosting.rocks or whatever domain you’re using and you’ll be redirected to the Pre-Installation Check page. This is where you’ll need to enter all the database information from step 5.

Once you enter all the info, click on the “Install/Upgrade Database” button.
Next, you can continue to the login page at mantisbthishosting.rocks/login_page.php
Use the username “administrator” and password “root” to log in. Change them ASAP after you log in.
The final step is to, remove or rename the admin directory of mantisbt after you are done installing it on your server:
mv /var/www/html/admin /var/www/html/admin-backup
And that’s all! You can start using MantisBT. If you have any questions, leave a comment below.
