This is the beginning of our LAMP tutorial series: how to install the Apache web server on Ubuntu.
These instructions should work on any Ubuntu-based distro, including Ubuntu 16.04, Ubuntu 18.04, Ubuntu 20.04 and even non-LTS Ubuntu releases like Ubuntu 20.10. They were tested and written for Ubuntu 18.04.
Apache (aka httpd) is the most popular and most widely used web server, so this should be useful for everyone.
Before we begin installing Apache
Some requirements and notes before we begin:
- Apache may already be installed on your server, so check if it is first. You can do so with the “apachectl -V” command that outputs the Apache version you’re using and some other information.
- You’ll need an Ubuntu server. You can buy one from Vultr, they’re one of the best and cheapest cloud hosting providers. Their servers start from $2.5 per month.
- You’ll need the root user or a user with sudo access. All commands below are executed by the root user so we didn’t have to append ‘sudo’ to each command.
- You’ll need SSH enabled if you use Ubuntu or an SSH client like MobaXterm if you use Windows.
That’s most of it. Let’s move onto the installation.
Install Apache on Ubuntu
The first thing you always need to do is update Ubuntu before you do anything else. You can do so by running:
apt-get update && apt-get upgrade
Next, to install Apache, run the following command:
apt-get install apache2
If you want to, you can also install the Apache documentation and some Apache utilities. You’ll need the Apache utilities for some of the modules we’ll install later.
apt-get install apache2-doc apache2-utils
And that’s it. You’ve successfully installed Apache.
You’ll still need to configure it.
Configure and Optimize Apache on Ubuntu
There are various configs you can do on Apache, but the main and most common ones are explained below.
Check if Apache is running
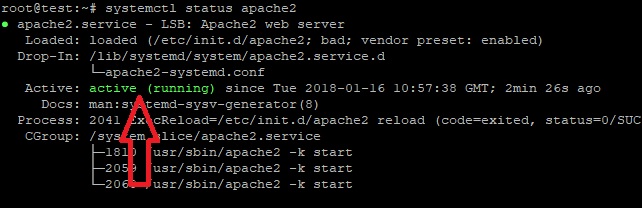
By default, Apache is configured to start automatically on boot, so you don’t have to enable it. You can check if it’s running and other relevant information with the following command:
systemctl status apache2
And you can check what version you’re using with
apachectl -V
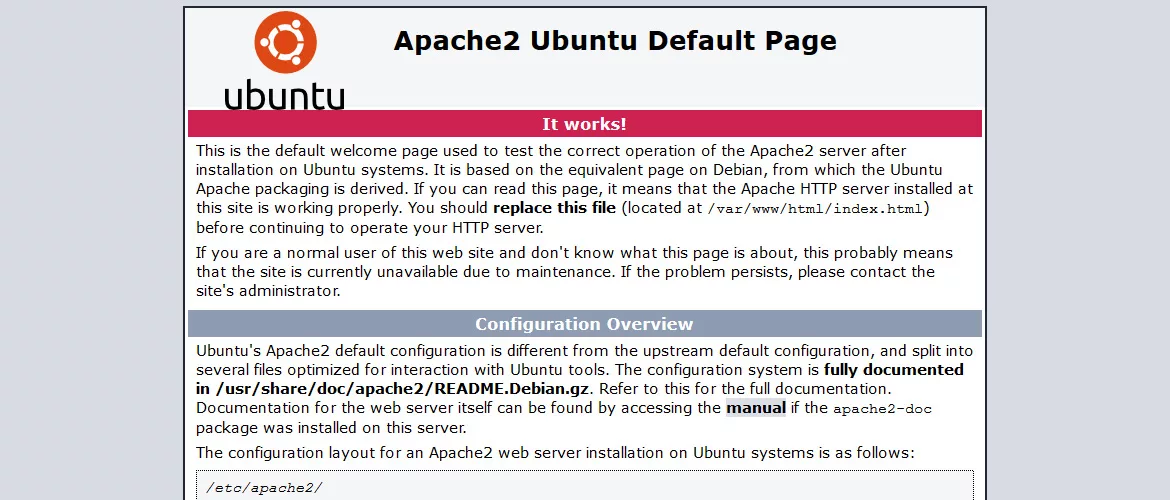
A simpler way of checking this is by visiting your server’s IP address. If you get the default Apache page, then everything’s working fine.
Update your firewall
If you use a firewall (which you should), you’ll probably need to update your firewall rules and allow access to the default ports. The most common firewall used on Ubuntu is UFW, so the instructions below are for UFW.
To allow traffic through both the 80 (http) and 443 (https) ports, run the following command:
ufw allow 'Apache Full'
Install common Apache modules
Some modules are frequently recommended and you should install them. We’ll include instructions for the most common ones:
Speed up your website with the PageSpeed module
The PageSpeed module will optimize and speed up your Apache server automatically.
First, go to the PageSpeed download page and choose the file you need. We’re using a 64-bit Ubuntu server and we’ll install the latest stable version. Download it using wget:
wget https://dl-ssl.google.com/dl/linux/direct/mod-pagespeed-stable_current_amd64.deb
Then, install it with the following commands:
dpkg -i mod-pagespeed-stable_current_amd64.deb
apt-get -f install
Restart Apache for the changes to take effect:
systemctl restart apache2
Enable rewrites/redirects using the mod_rewrite module
This module is used for rewrites (redirects), as the name suggests. You’ll need it if you use WordPress or any other CMS for that matter. To install it, just run:
a2enmod rewrite
And restart Apache again. You may need some extra configurations depending on what CMS you’re using, if any. Google it for specific instructions for your setup.
Secure your Apache with the ModSecurity module
ModSecurity is a module used for security, again, as the name suggests. It basically acts as a firewall, and it monitors your traffic. To install it, run the following command:
apt-get install libapache2-modsecurity
And restart Apache again:
systemctl restart apache2
ModSecurity comes with a default setup that’s enough by itself, but if you want to extend it, you can use the OWASP rule set.
Block DDoS attacks using the mod_evasive module
You can use the mod_evasive module to block and prevent DDoS attacks on your server, though it’s debatable how useful it is in preventing attacks. To install it, use the following command:
apt-get install libapache2-mod-evasive
By default, mod_evasive is disabled, to enable it, edit the following file:
nano /etc/apache2/mods-enabled/evasive.conf
And uncomment all the lines (remove #) and configure it per your requirements. You can leave everything as-is if you don’t know what to edit.

And create a log file:
mkdir /var/log/mod_evasive
chown -R www-data:www-data /var/log/mod_evasive
That’s it. Now restart Apache for the changes to take effect:
systemctl restart apache2
There are additional modules you can install and configure, but it’s all up to you and the software you’re using. They’re usually not required. Even the 4 modules we included are not required. If a module is required for a specific application, then they’ll probably note that.
Optimize Apache with the Apache2Buddy script
Apache2Buddy is a script that will automatically fine-tune your Apache configuration. The only thing you need to do is run the following command and the script does the rest automatically:
curl -sL https://raw.githubusercontent.com/richardforth/apache2buddy/master/apache2buddy.pl | perl
You may need to install curl if you don’t have it already installed. Use the following command to install curl:
apt-get install curl
Additional configurations
There’s some extra stuff you can do with Apache, but we’ll leave them for another tutorial. Stuff like enabling http/2 support, turning off (or on) KeepAlive, tuning your Apache even more. You don’t have to do any of this, but you can find tutorials online and do it if you can’t wait for our tutorials.
Create your first website with Apache
Now that we’re done with all the tuning, let’s move onto creating an actual website. Follow our instructions to create a simple HTML page and a virtual host that’s going to run on Apache.
The first thing you need to do is create a new directory for your website. Run the following command to do so:
mkdir -p /var/www/example.com/public_html
Of course, replace example.com with your desired domain. You can get a cheap domain name from Namecheap.
Don’t forget to replace example.com in all of the commands below.
Next, create a simple, static web page. Create the HTML file:
nano /var/www/example.com/public_html/index.html
And paste this:
<html>
     <head>
       <title>Simple Page</title>
     </head>
     <body>
       <p>If you're seeing this in your browser then everything works.</p>
     </body>
</html>
Save and close the file.
Configure the permissions of the directory:
chown -R www-data:www-data /var/www/example.com
chmod -R og-r /var/www/example.com
Create a new virtual host for your site:
nano /etc/apache2/sites-available/example.com.conf
And paste the following:
<VirtualHost *:80>
     ServerAdmin admin@example.com
     ServerName example.com
     ServerAlias www.example.com

     DocumentRoot /var/www/example.com/public_html

     ErrorLog ${APACHE_LOG_DIR}/error.log
     CustomLog ${APACHE_LOG_DIR}/access.log combined
</VirtualHost>
This is a basic virtual host. You may need a more advanced .conf file depending on your setup.
Save and close the file after updating everything accordingly.
Now, enable the virtual host with the following command:
a2ensite example.com.conf
And finally, restart Apache for the changes to take effect:
systemctl restart apache2
That’s it. You’re done. Now you can visit example.com and view your page.


