
Varnish server is a special caching application. You could install it before any web server and it would speed up time to the first byte (TTFB) significantly.
Varnish is a recommended caching solution for Magento 2 eCommerce websites.
In this article I’ll show you how to configure and set it up properly. We will be using a Debian 12 Bookworm machine for reference but the instructions could be applied to a different operating system.
Varnish is a great tool to optimize Magento 2 speed. This is a tutorial to show you how to optimize your Magento speed with Varnish. Although there are much more methods and ways of optimizing your Magento 2 speed. Some services like the one linked earlier do all those optimizations for you, not just setting up Varnish, which is just the tip of the iceberg.
I’ll be using Nginx and Magento 2.4.6p3 and serve everything over HTTPS.
Installation on Debian
Firstly, we need to install a few packages:
$ apt-get update
$ apt-get install varnish
Once the installation is complete, varnish will listen on a default port 6081:
$ ps aux | grep varnish
vcache   2767358  0.1  0.0  18828 10936 ?        SLs  17:44   0:00 /usr/sbin/varnishd -j unix,user=vcache -F -a :6081 -T localhost:6082 -f /etc/varnish/default.vcl -S /etc/varnish/secret -s malloc,256m
vcache   2767373  0.6  0.2 292948 142080 ?       SLl  17:44   0:00 /usr/sbin/varnishd -j unix,user=vcache -F -a :6081 -T localhost:6082 -f /etc/varnish/default.vcl -S /etc/varnish/secret -s malloc,256m
varnish+ 2767589  0.2  0.0  86152  1280 ?        Ss   17:44   0:00 /usr/bin/varnishncsa -a -w /var/log/varnish/varnishncsa.log -D -P /run/varnishncsa/varnishncsa.pid
Hooking it up to Magento 2
We need to make a few configuration changes in our eCommerce store:

Go to the backend panel > Stores > Configuration > Advanced > System > Full Page Cache and set Caching Application to Varnish (Recommended). Click on a Save button.
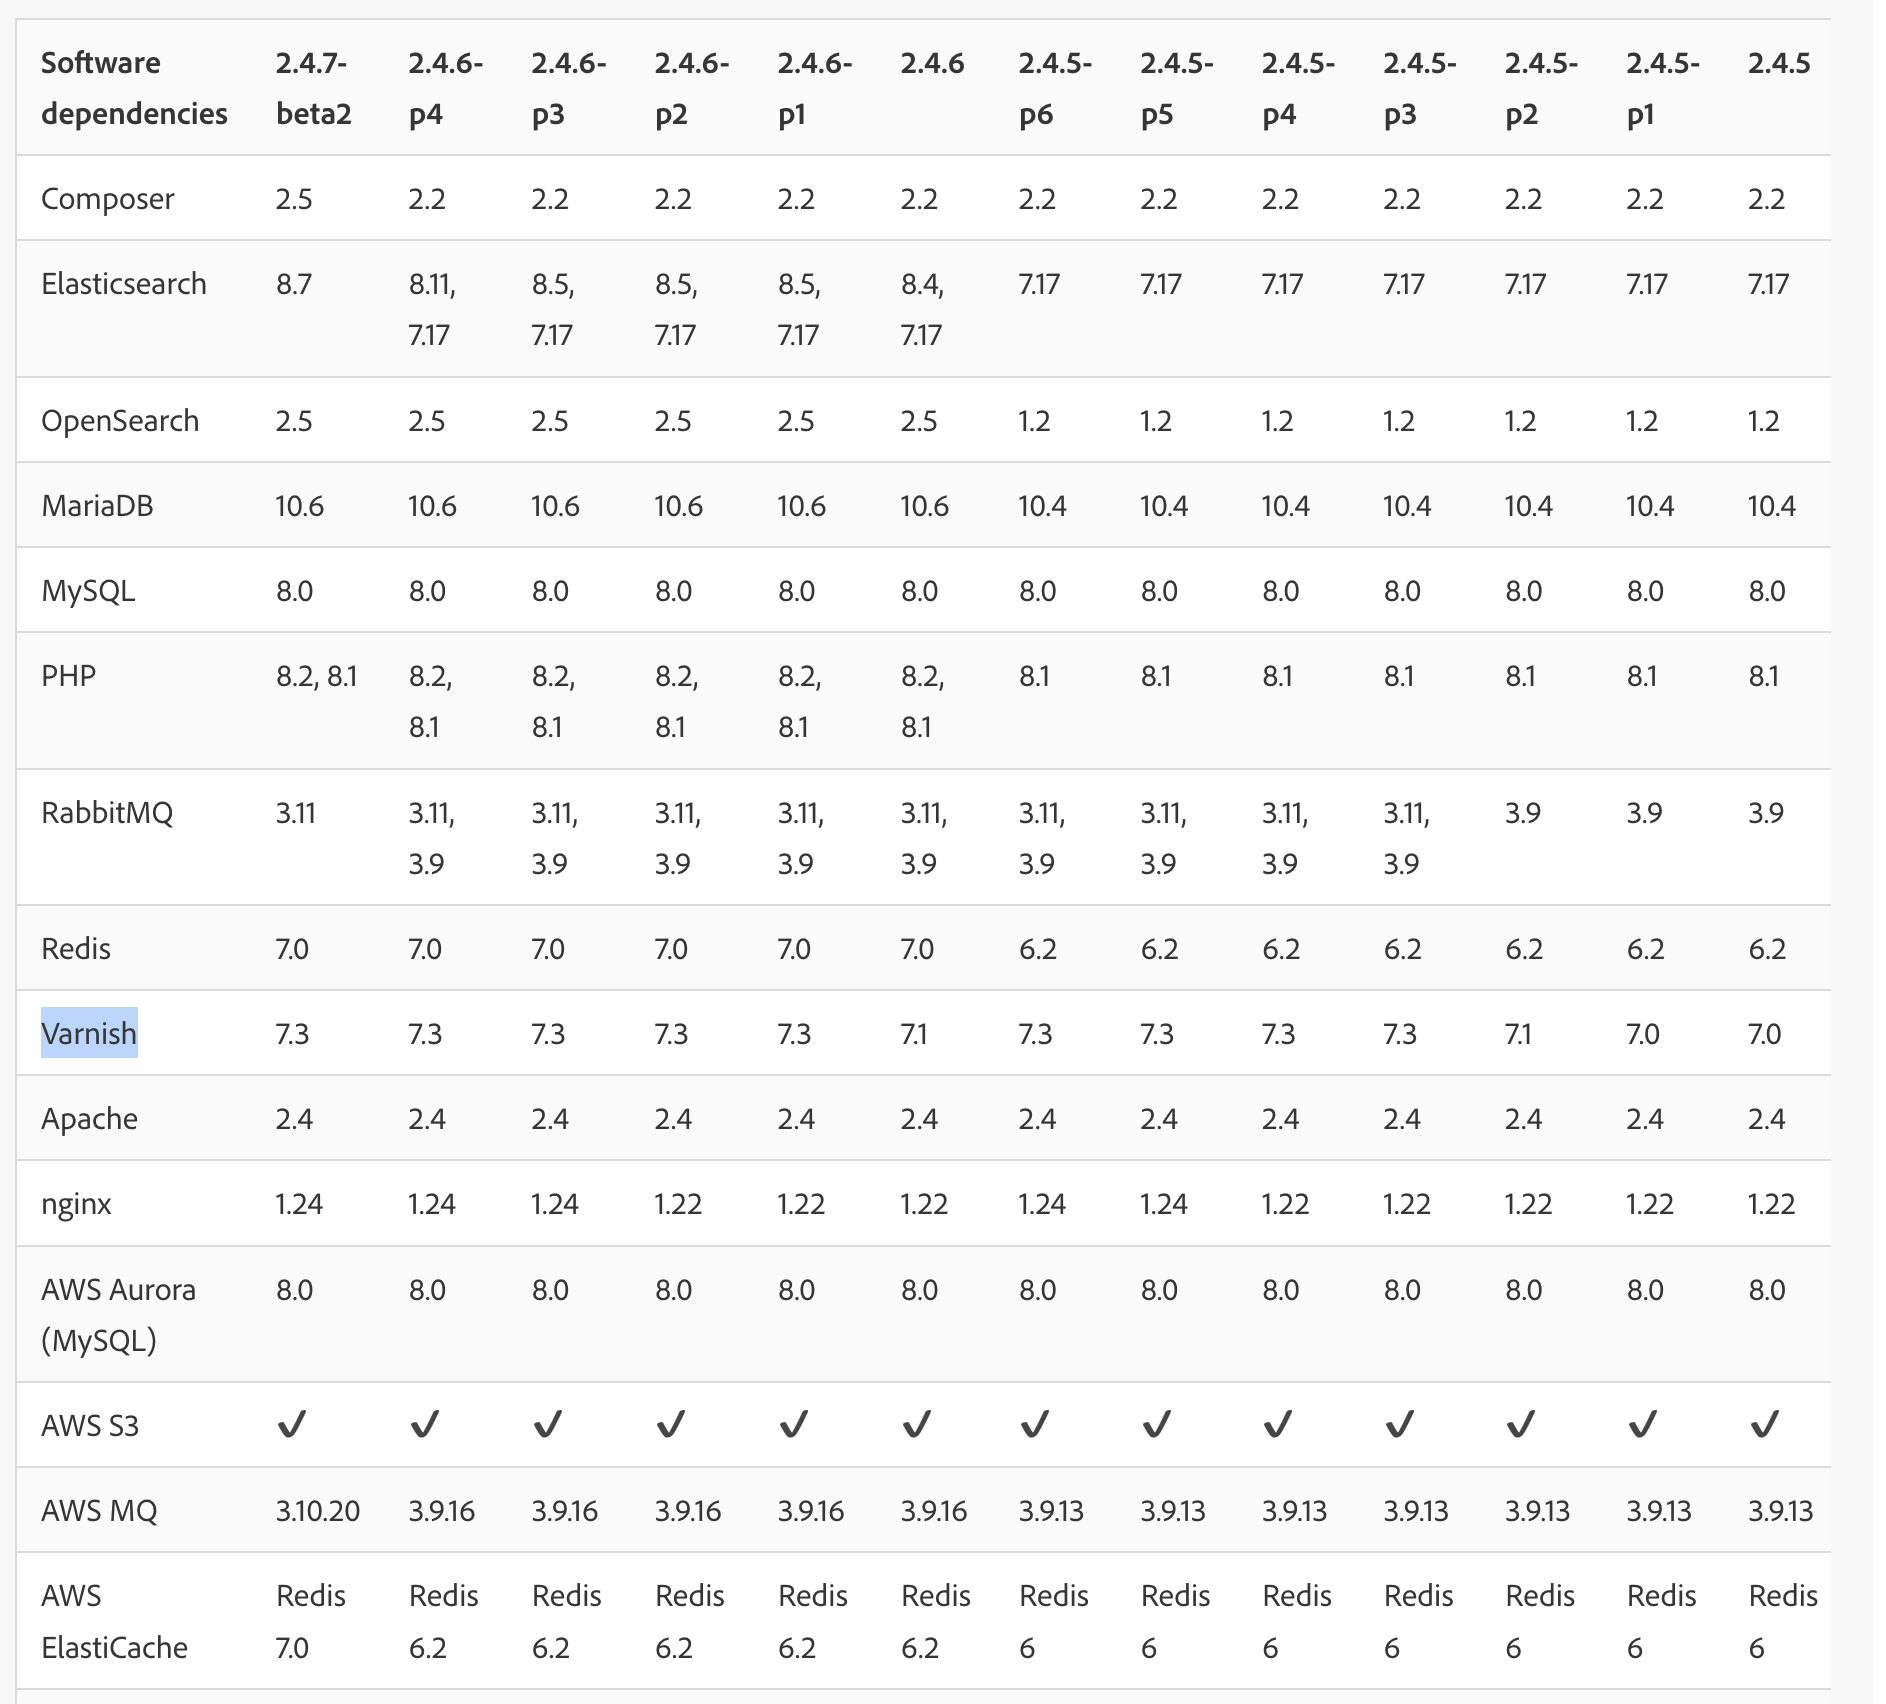
Then we will expand the Varnish Configuration tab and export the VCL file for your version. Our version is 7:
$ varnishd -V
Varnishd (varnish-7.1.1)
We are running Magento 2.4.6p3 which supports Varnish 7 even though there is no Varnish 7 button 🙂
We will go ahead and download a Varnish 6 VCL file.
Important: In the downloaded file we need to make a change. Around line 13 we will change a probe url:
    .port = "8080";
    .first_byte_timeout = 600s;
    .probe = {
-        .url = "/pub/health_check.php";
+       .url = "/health_check.php";
        .timeout = 2s;
Without that change, Varnish will request pub/health_check.php, will get 404 (page not found), will think Magento is unavailable and will display a 503 error page like this one:

Go ahead, make that change and save the file as varnish6_edited.vlc.
Next, we replace default VCL with our custom file and restart Varnish:
$ cp varnish6_edited.vcl /etc/varnish/default.vcl
$ /etc/init.d/varnish restart
Now the Varnish server is running and listening on port 6081 (by default) for incoming requests.
Nginx Configuration
An ecommerce site needs to be under HTTPS at all times. Vanish cannot listen on port 443 so we need to keep a web server taking requests.
A diagram of our setup will be something like this:
User -> Web Server (nginx in our case) listening to 443 -> Varnish -> Magento (running as a virtual nginx host on port 8080)
Important: We will be requesting Magento over port 8080 but need to make it think it’s 443 (SSL). For that reason we will be passing a special variable HTTPS = on:
fastcgi_param HTTPS on
This step is important, without that variable you will get an indefinite redirect error like this one:

Let’s take a default nginx.conf.sample file that comes with every Magento 2 installation and edit it around line 207 (we add a HTTPS variable):
location ~ ^/(index|get|static|errors/report|errors/404|errors/503|health_check)\.php$ {
    try_files $uri =404;
    fastcgi_pass   fastcgi_backend;
    fastcgi_buffers 16 16k;
    fastcgi_buffer_size 32k;
    fastcgi_param  PHP_FLAG  "session.auto_start=off \n suhosin.session.cryptua=off";
    fastcgi_param  PHP_VALUE "memory_limit=756M \n max_execution_time=18000";
+  fastcig_param HTTPS on;
    fastcgi_read_timeout 600s;
    fastcgi_connect_timeout 600s;
    fastcgi_index  index.php;
    fastcgi_param  SCRIPT_FILENAME  $document_root$fastcgi_script_name;
    include        fastcgi_params;
}
Now we save it to nginx.conf.edited.
Next we configure a Nginx server:
# This is the main entry, a browser request comes here and gets forwarded to Varnish
server {
    listen 443 http2;
    ssl on;
    server_name yourdomain.com;
    ssl_certificate /etc/nginx/ssl/latest-cert.crt;
    ssl_certificate_key /etc/nginx/ssl/www-new.key;
    ssl_protocols TLSv1 TLSv1.1 TLSv1.2;
    location / {
        proxy_set_header Host $host;
        proxy_set_header X-Real-IP $remote_addr;
        proxy_set_header X-Forwarded-For $remote_addr;
        proxy_set_header X-Forwarded-Proto $scheme;
        proxy_pass http://127.0.0.1:6081;
        proxy_http_version 1.1;
    }
}

# Here comes a request from Varnish if a page wasn’t found in its cache. We need to run
# Magento code and render a page. nginx.conf.edited file is the same file we edited above.

server {
    listen 8080;
   port_in_redirect off;
   set $MAGE_ROOT /var/yoursitefolder;
  Include /var/yoursitefolder/nginx.conf.edited;
}
Now let’s restart nginx and everything should work.
$ /etc/init.d/nginx restart
Confirmation
Let’s double check that Varnish is caching our pages.
Open up Google Chrome, request a homepage several times, go to Developer tools / Network and check the page’s headers. You should see a hit:

You can also fire up varnishlog and see page requests:
$ varnishlog

…..
*   << Request  >> 3964957
-   Begin          req 3964956 rxreq
-   Timestamp      Start: 1708119375.564378 0.000000 0.000000
-   Timestamp      Req: 1708119375.564378 0.000000 0.000000
-   VCL_use        boot
-   ReqStart       127.0.0.1 46430 a0
-   ReqMethod      GET
-   ReqURL         /dummypage
If you have any questions – don’t hesitate to leave a comment or contact me directly.

