
In this tutorial, we’ll show you how to accept bitcoin payments on your WooCommerce instance using the TripleA plugin. Everything step is explained in detail, so this tutorial should be easy to follow for beginners.
Prerequisites
Before we begin with the actual tutorial, this is what you need:
- A WordPress site with WooCommerce installed and set up. If you don’t already host your own WordPress site, you can compare WordPress hosting providers here. For instance, you can use Cloudways or Kinsta, they both offer options to set up a WordPress website with WooCommerce pre-installed.
- A bitcoin wallet. TripleA supports all standard BIP 44-compatible HD wallets. BIP 32 HD wallets that use derivation path m/0/<n> for receiving addresses are compatible as well. If you don’t own a wallet yet, opt for the local currency withdrawal option. TripleA will create a wallet for you and you will be able to withdraw payments directly in your local currency.
- Optionally, you can use one of these special cryptocurrency WordPress themes.
About TripleA
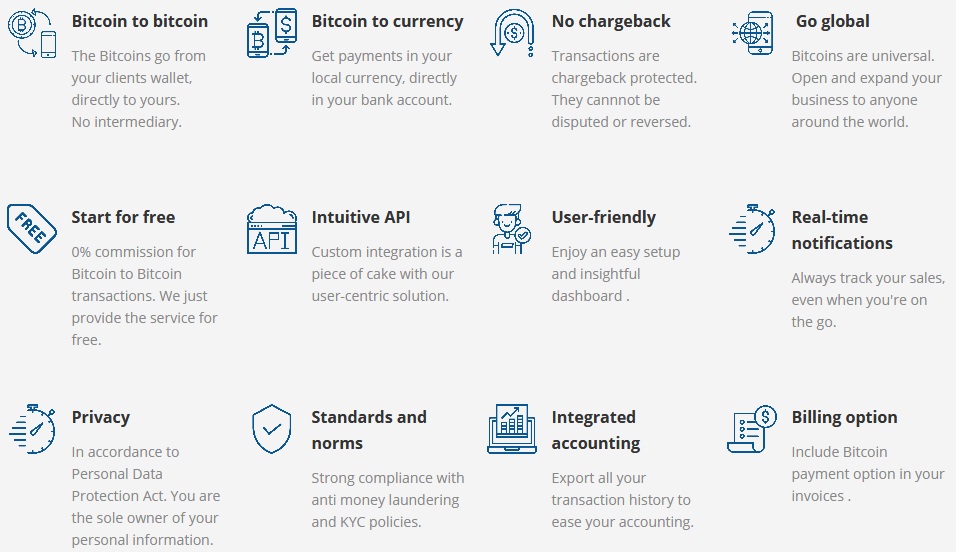
TripleA offers a payment gateway for bitcoin transactions with lots of options, including Bitcoin-to-Bitcoin transactions without a fee, which is pretty rare. There’s also an option to accept Bitcoin to Local currency payments, which do have a small 0.8% fee. You can even create a “Donate with Bitcoin” button.
You can learn more about TripleA at their website or their WordPress plugin page.
How to Set Up The TripleA Plugin on WooCommerce
Once your WordPress and WooCommerce are up and running, it’s time to install the TripleA plugin. You can install the plugin using different methods, but the easiest one is using the Plugin Directory straight from your WordPress admin area.
Install and Activate the TripleA Plugin
- Go to the Add Plugins page via the sidebar menu (Plugins -> Add New)
- Enter “triplea” in the search field.
- Click on “Install Now” for the Bitcoin Payment Gateway for WooCommerce plugin by TripleA.
- After that, click on “Activate”

After you activate the plugin, you’ll be redirected to the Installed Plugins page where you can go to the Settings page of the TripleA plugin.
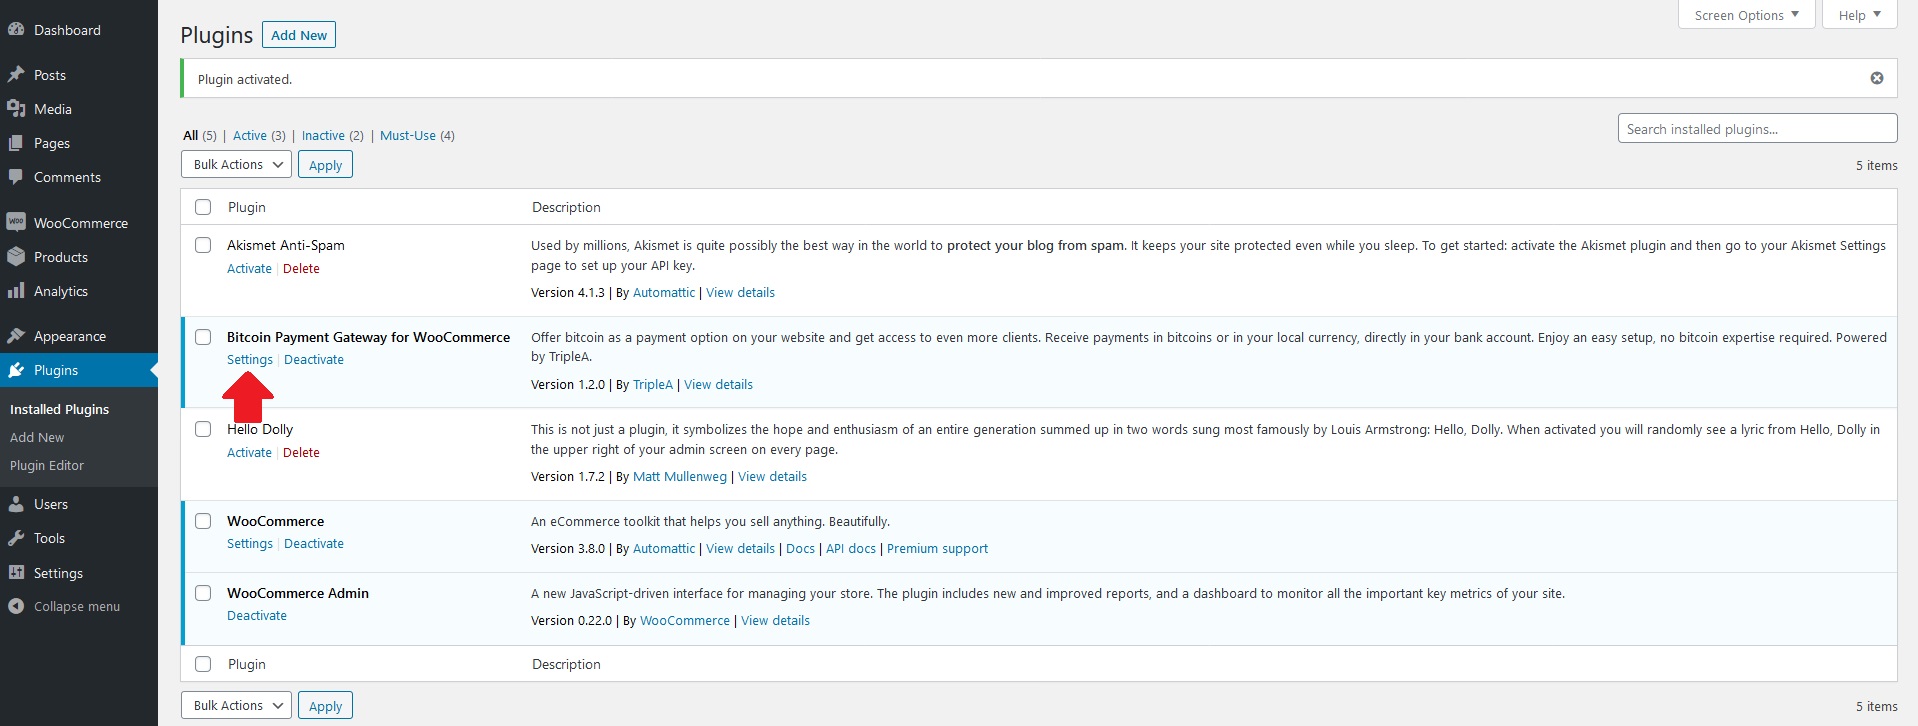
You can also navigate to the Settings page by going to the WooCommerce Settings page via the sidebar menu -> Payments tab and click on “Set Up” for “Bitcoin Payment Gateway (by TripleA) – Bitcoin payment”
Start Setting Up The Payment Gateway
Once you’re on the TripleA settings page, the first step is to choose how you’d like to receive bitcoin payments. The 2 options are “receive bitcoin” and “receive local currency”.
- For this tutorial, we’ll go with the first option, “receive bitcoin”. Choose that option
- and click on the “Next” button for the next step.

Add a New Bitcoin Wallet and Set Up The Payment Gateway
The next step is where you need to enter your master public key of your bitcoin wallet (xPub).
It’s recommended that you create a new wallet for the purposes of this plugin.
Getting the xPub for your wallet is different for each wallet provider. If you’re using Blockchain.com, the steps are:
Settings

-> Wallets & Addresses

-> Manage

-> More Options

-> Show xPub
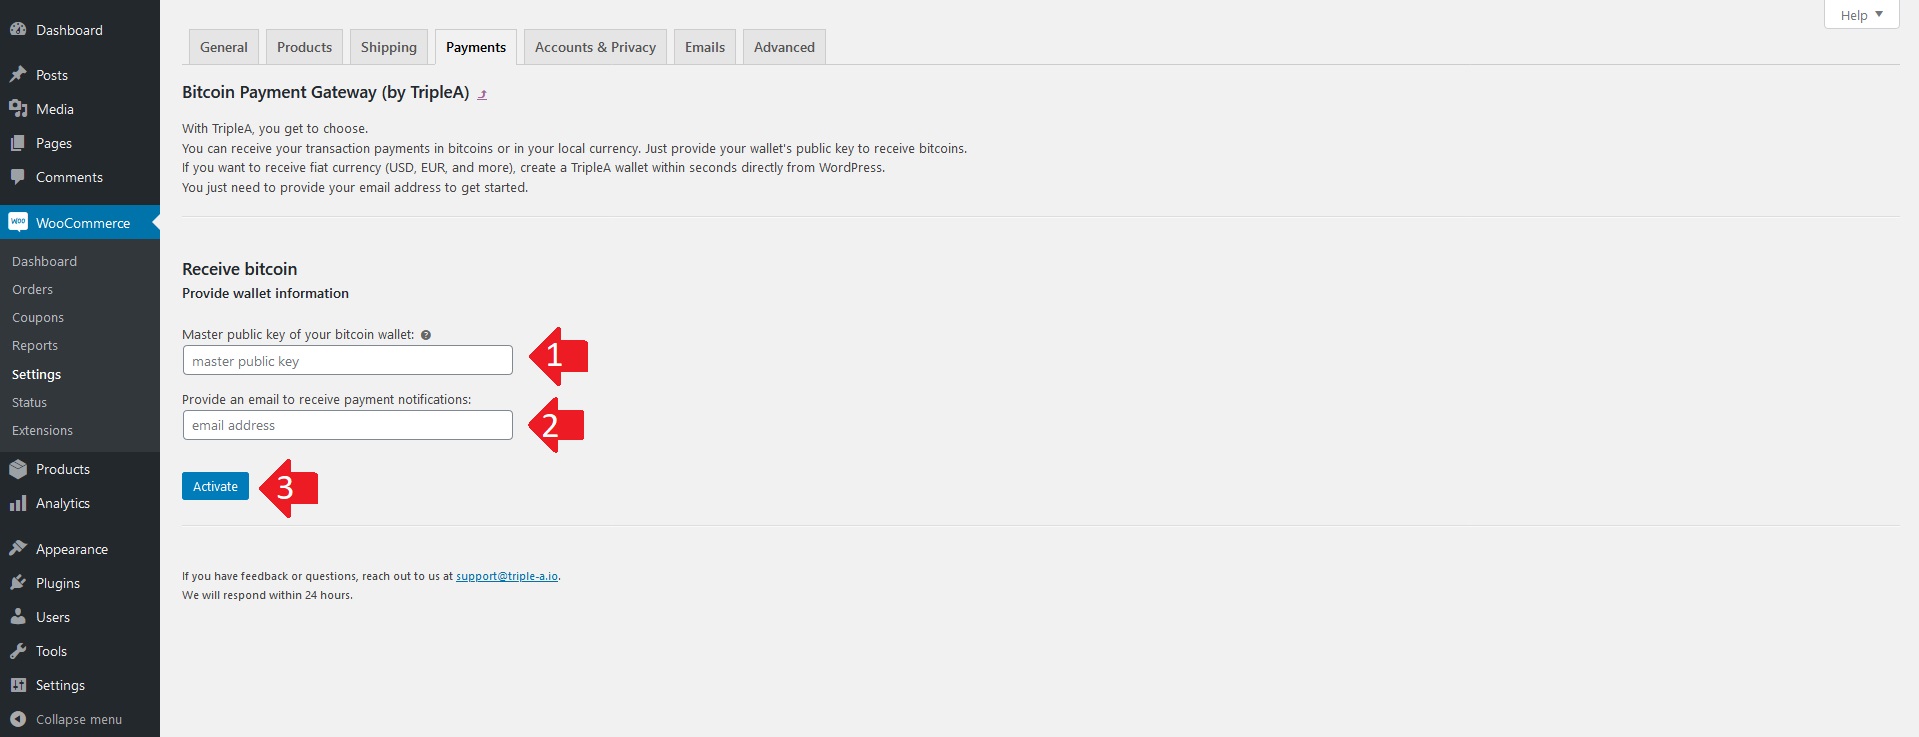
- Enter your xPub in the “Master public key of your bitcoin wallet” field.
- Enter any email address you own for payment notifications. You can create a new one just for the use of this plugin.
- Click on the “Activate” button.
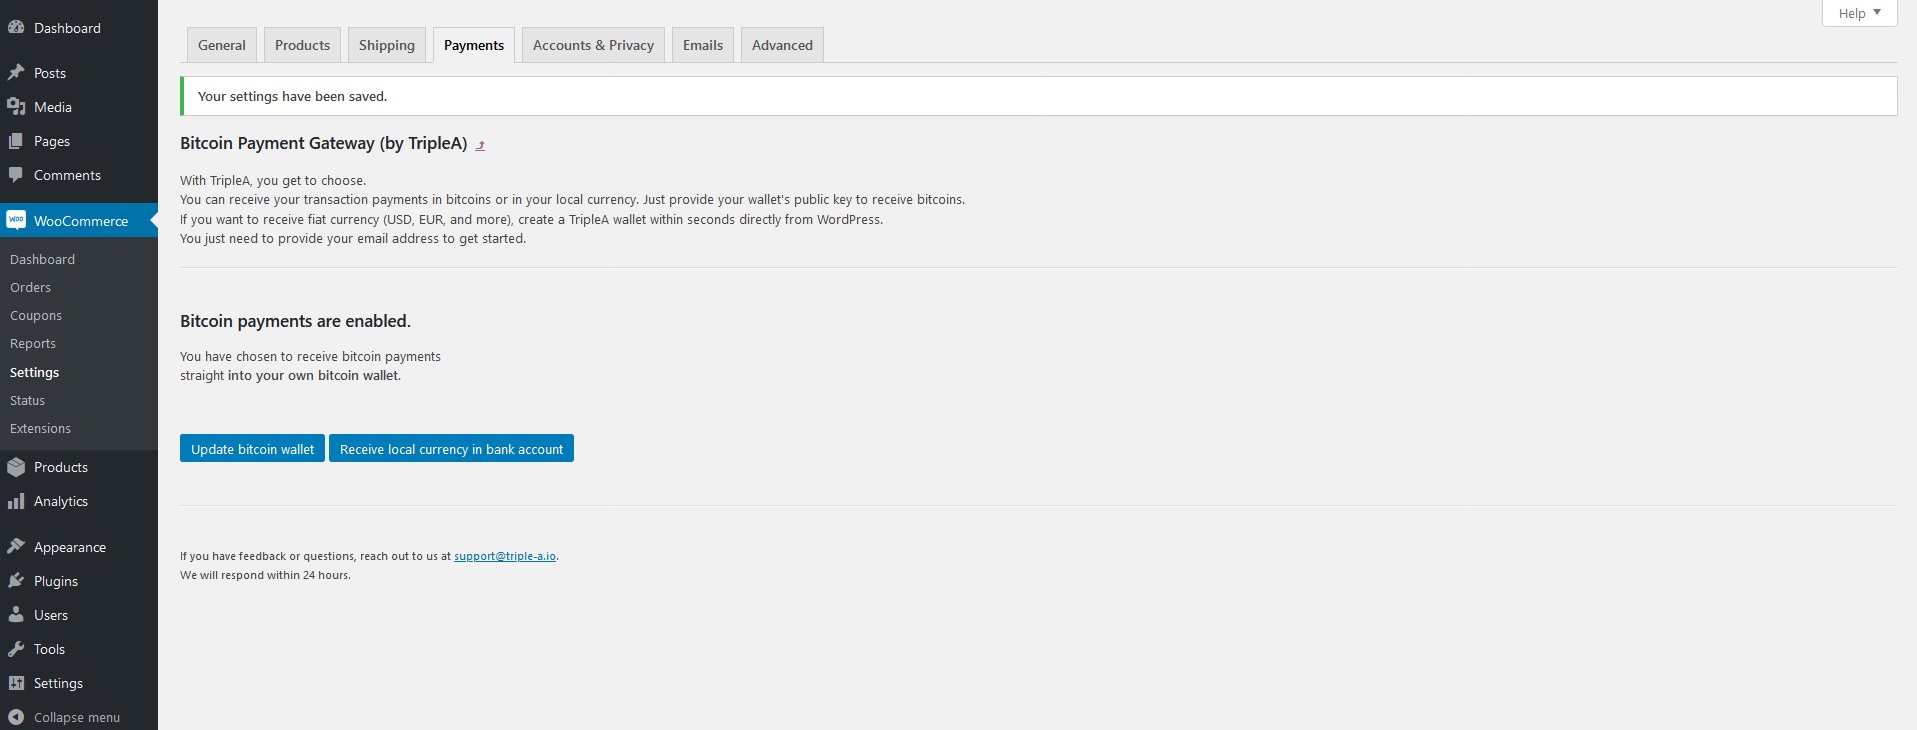
Wait a few seconds and the plugin will be activated and set up.
If you configured everything correctly, you should get this page after you click on “Activate”:
Enable The New Bitcoin Payment Gateway in WooCommerce Settings
Now that you set up the payment gateway, you need to activate it in the WooCommerce Payments settings.
- Use the sidebar menu and navigate to WooCommerce -> Settings -> Payments tab.
- Click on the “Enabled” switch for the bitcoin payment gateway
- and click on the “Save changes” button.
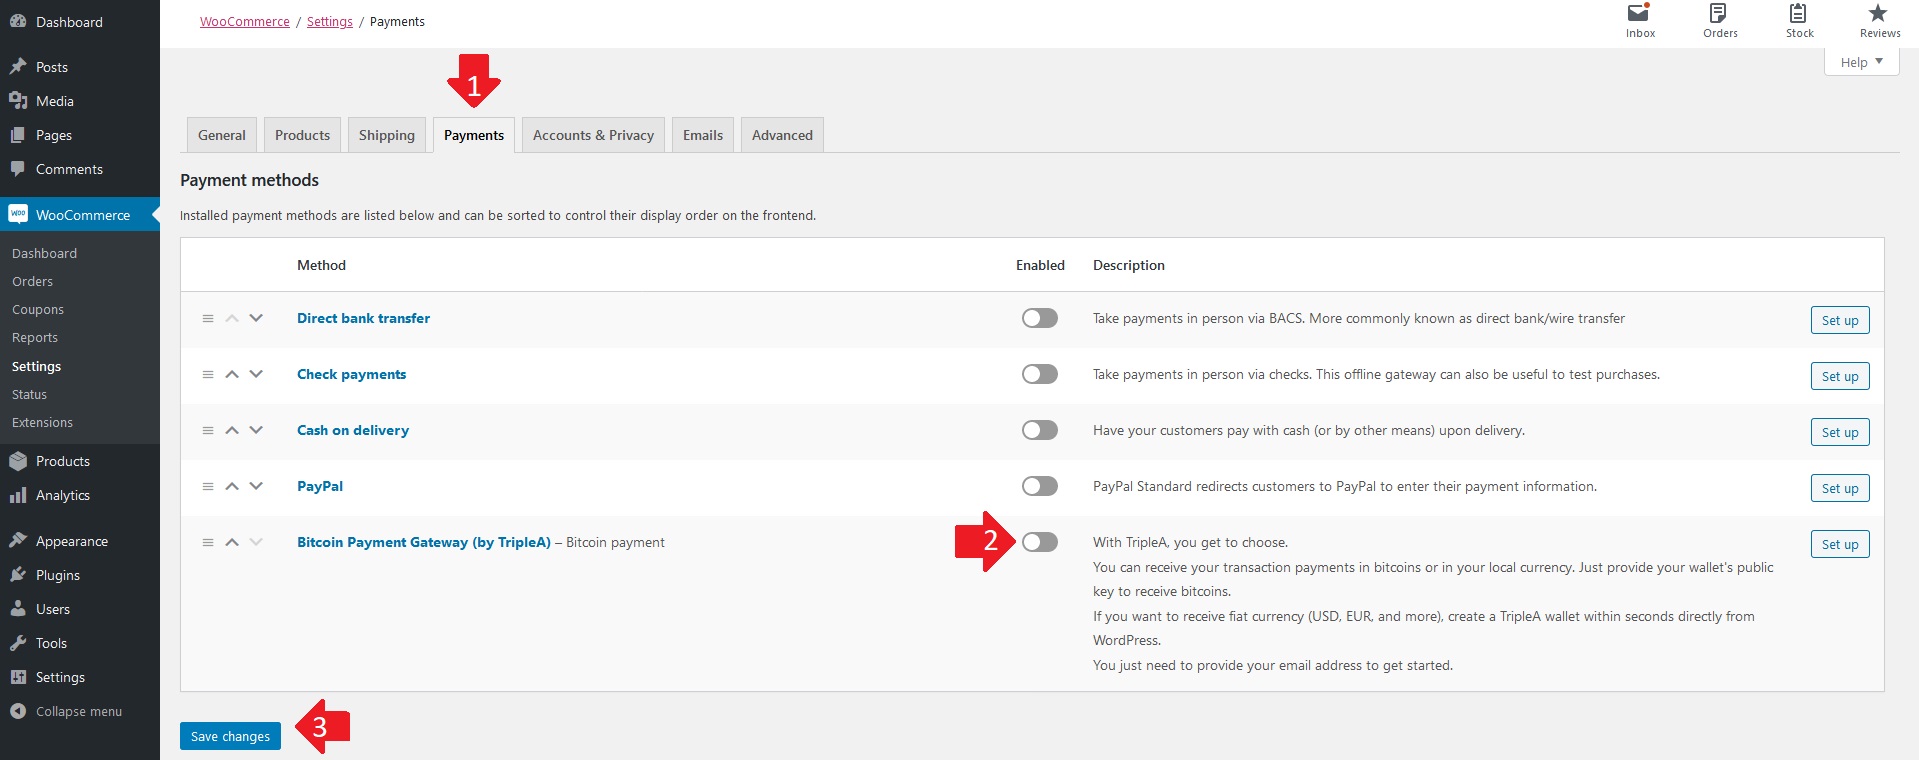
That’s it! Now you can accept bitcoin payments on your WooCommerce shop.
How The Plugin Works For Your Customers
Your customers will have an option to pay with bitcoin, along with other options if you’ve set them up.
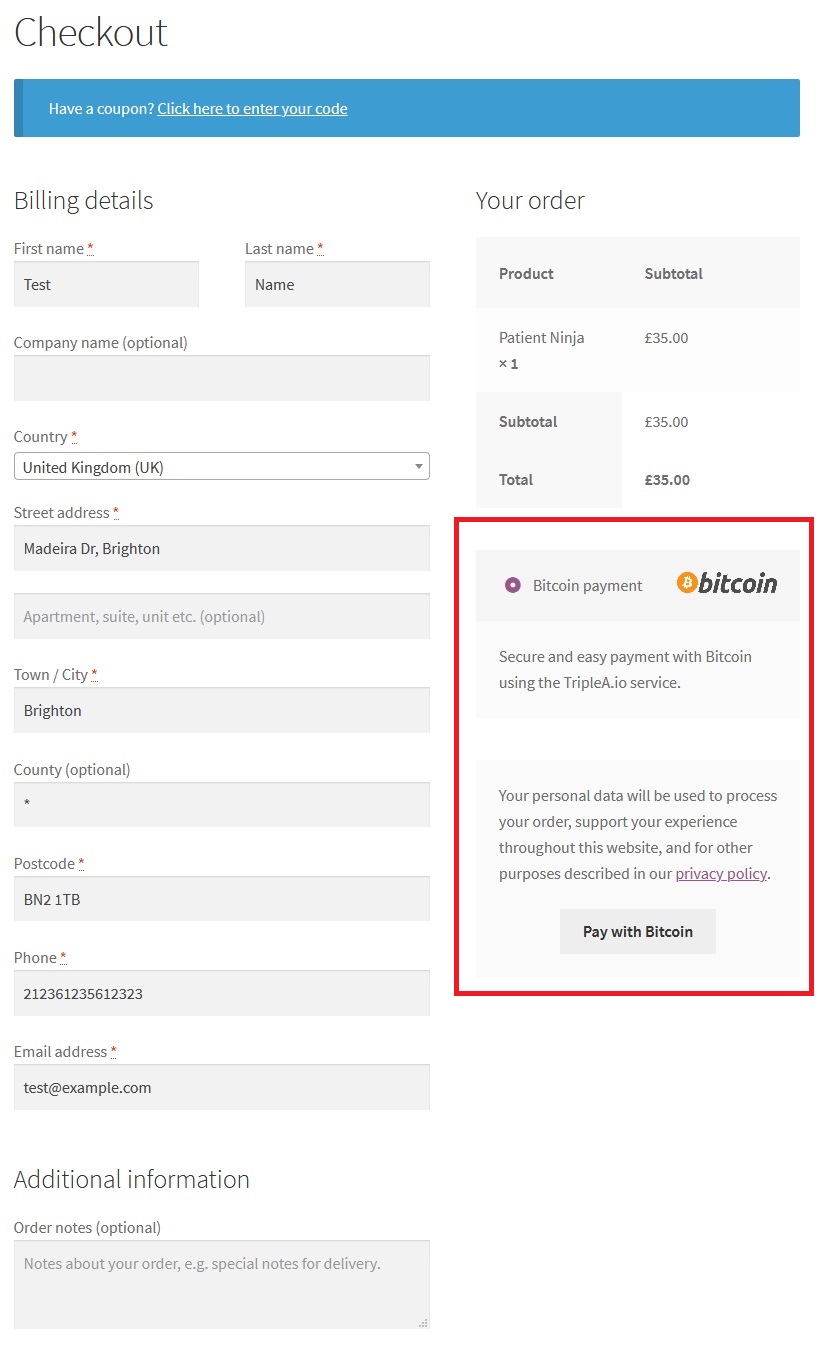
If they choose to use bitcoin, they will click on the “Pay with Bitcoin” button during checkout and they’ll have 15 minutes to make the payment.
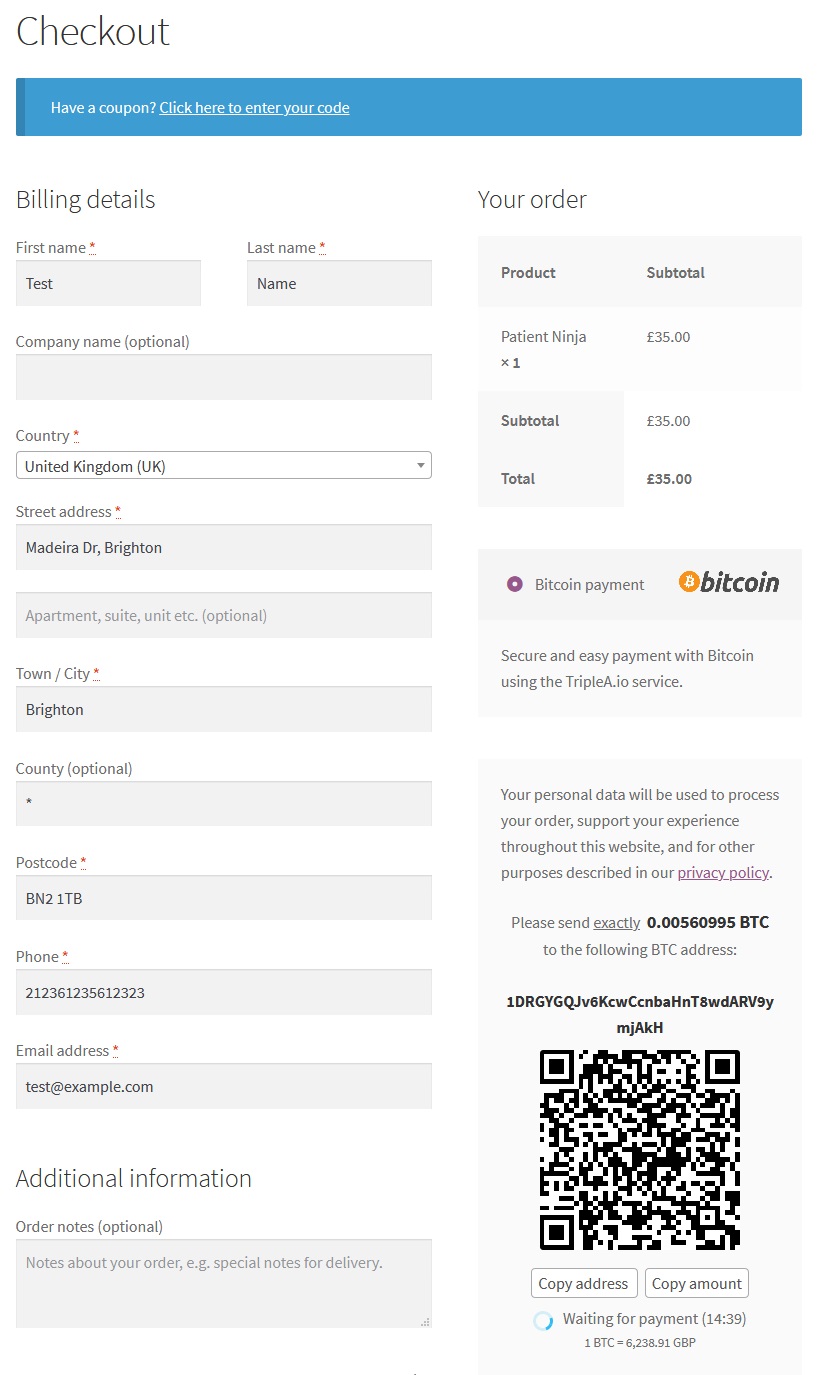
Once they make the payment, the order can be further processed.
Conclusion
The process of setting up the TripleA plugin is pretty easy and straightforward. You can set up your WooCommerce shop with a bitcoin payment gateway within minutes. The front-end customer experience of paying with bitcoin is user-friendly and the plugin integrates well with any theme.


